
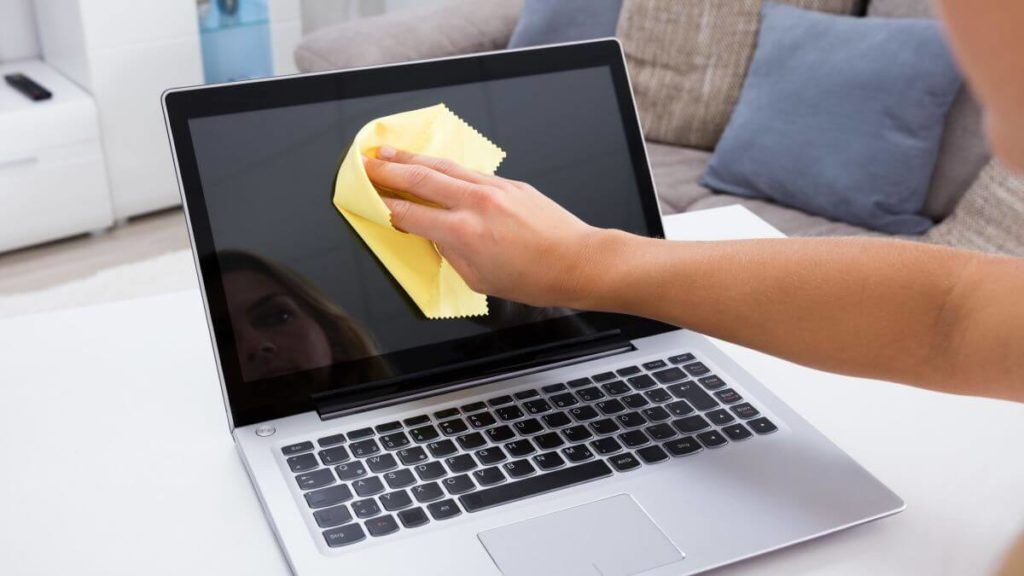
As the world’s largest experiment in remote working (driven by the Covid-19 pandemic) is coming to an end, small to medium-sized businesses across London are heading back to offices and hybrid styles of working. While social distancing, surface cleaning, hand washing and other health and safety measures were the focus during the pandemic, there’s another form of sanitising you should undertake – digital sanitising. That means understanding how to wipe a business laptop before returning to the office with your team, so you can all be securely reintegrated back into your network.
Post-pandemic, here’s how to wipe a laptop securely before returning to the office
During the Covid-19 lockdown, the London business community responded brilliantly to preparing their teams for secure remote working. A wide range of technologies were at hand to assist in the shift. From using laptops and mobile devices, to remote collaboration tools and Virtual Private Networks (VPNs), there was always a way to remain connected to your workplace.
But in this blog post, we go through the steps of how to wipe a laptop safely, so you can be securely reconnected to your business network.
Why digital cleaning matters
It’s almost inevitable that your remote workers will have logged on a business device for some sort of personal use. This may not be entirely explicit, as they may have checked their personal e-mail on a laptop or Mac owned by your business. By browsing or clicking any links on your devices, there is an increased risk of malware or viruses entering your business network.
It’s also possible that your people have checked their social media accounts, downloaded games or software, listened to music, or watched movies on those computers. Not all those activities will inevitably lead to threats to your business network. However, to be on the safe side you want to ensure your technology is free of all this digital waste.
Before you wipe a laptop securely, back up first
Before you start digitally cleaning your business laptops and Macs it’s vital to ensure all the files and folders you need to keep are fully backed up and organised. You don’t want to accidentally erase anything that’s going to be important to your London business, now or in the future.
The size of the digital files you want to copy and keep will dictate the storage space you need. You have a few options, including:
Google Drive, Dropbox & OneDrive
This can be useful for sharing multiple files and organising project data.
USB stick
USB sticks (sometimes referred to as memory sticks, pen sticks or flash drives) are inexpensive and easy to store, but they are also easy to lose – so do be careful! This is a great choice for small file storage.
External hard drive
If you have more than just a few gigabytes of data, an external hard drive directly connected to each laptop or Mac is probably your best bet. You can simply drag your files and folders and drop them into your external drive.
Once you’ve backed up the data you wish to keep, consider following what tech experts call the 3-2-1 approach to safe storage. This means keeping at least three copies of your data, with two backup copies on different media, and one of which is located offsite.
How to wipe the hard drives in both Windows 10 and Mac OS
No matter what versions of Windows and Mac OS you’re using, wiping hard drives is relatively straightforward on both platforms. It can get a little more involved, depending on how secure you want your erased data to be, so below we cover several cleaning options for the most popular operating systems.
How to wipe a Windows 8 and 8.1 laptop
To wipe the hard drive of a Windows 8 or 8.1 laptop simply go to the Start screen, find the Charms bar, click on ‘Settings’, ‘Change PC Settings’ and then finally choose ‘Remove Everything.’ Once done just reinstall Windows.
Note that when you choose to erase data, make sure you click on the ‘Thoroughly’ option rather than the ‘Quickly’ option. This is safer as it means the disk will be erased and you can reformat it. A new copy of Windows can then be installed automatically.
How to wipe your Windows 10 laptop
Wiping or formatting a drive in Windows 10 will depend on whether the drive is simply used for storage or for your active Windows installation. We’ll explain both below, starting with wiping the drive you have Windows installed on.
Start by clicking Windows search, ‘This PC’ and pressing ‘Enter’. This will bring up a new window that shows some of your computer folders and the drives connected to it. Then right click on the drive you want to wipe and select ‘Format.’
The formatting menu which opens gives you several choices for clearing the drive. It will also give you the option to name and set up the drive for new data after formatting. Simply select your desired format settings and press ‘Start’ to wipe the drive.
If you plan to continue using the wiped drive and want to be sure the data on it is erased completely, do not check the ‘Quick Format’ option.
If you prefer you can also format a drive in Disk Management where you’ll find your drives and their partitions. Press Windows Key + X and then select ‘Disk Management’ to go there. Right-click on the drive or partition you want to format and select ‘Format.’ Again, do not click ‘Quick Format’ as it’s not as secure as a normal format.
How to wipe your main Windows 10 drive
If you want to wipe the drive containing your Windows 10 operating system, you’ll need to perform a system reset. Don’t confuse this with restarting your computer!
To do this type ‘Reset this PC’ into the Windows search bar and click ‘Enter.’ This will take you to the menu for resetting and restoring your computer. Then select ‘Get started’ under the ‘Reset This PC’ section and in this new window, click on ‘Remove Everything.’ This will begin the process of wiping all your personal files, apps, and defaulting Windows settings on the computer.
Consider that if you have other drives installed on the computer, it can wipe them as well.
How to wipe a drive in Mac OS 10.14 Mojave
Open the Applications folder in Finder, then the Utilities folder, and find and open ‘Disk Utility’. This will bring up a new window which shows your Mac’s storage media. If your drives are not displayed, select the View drop-down menu, and choose ‘Show All Devices.’
Select the drive or volume you want to erase, press the ‘Erase’ button at the top of the Disk Utility window. From here you can then choose a new name and format for the drive.
During the process, you will be presented with the options available to you for wiping the drive. These may differ depending on whether it’s a hard or solid-state drive (SSD). With a hard drive, Disk Utility will offer a ‘Security Options’ slider, which can be moved to the right to ensure all the data is overwritten multiple times. This option isn’t available on an SSD.
Finally, click ‘Erase’ at the bottom of the pop-up window to begin the process of wiping the drive.
If you want to erase your Mac’s primary drive, you will have to follow some slightly different steps. First, you’ll need to open Mac OS Recovery by rebooting your Mac. Hold down Command + R while it powers up, and before the Apple logo appears, select Disk Utility from the Mac OS Utilities window which appears. Also, if your machine is running on an operating system that’s earlier than Lion or Mountain Lion, you’ll need to use a system disk.
Where to go for further help or advice
We routinely undertake these sorts of tasks for our London-based SMB clients. So, if you’d like to know more about cleaning your laptops and Macs before re-connecting them securely to your business network, call our award winning London IT support team here at totality services. We offer end-to-end IT managed services London companies can rely on for smooth operations and robust security of business infrastructure.